Let’s get something straight: I did not set out to make Honey Glazed Walnuts. I was trying to clean out my pantry. You know that place where spices go to die and bags of half-used nuts go to get weird? Yeah. That.
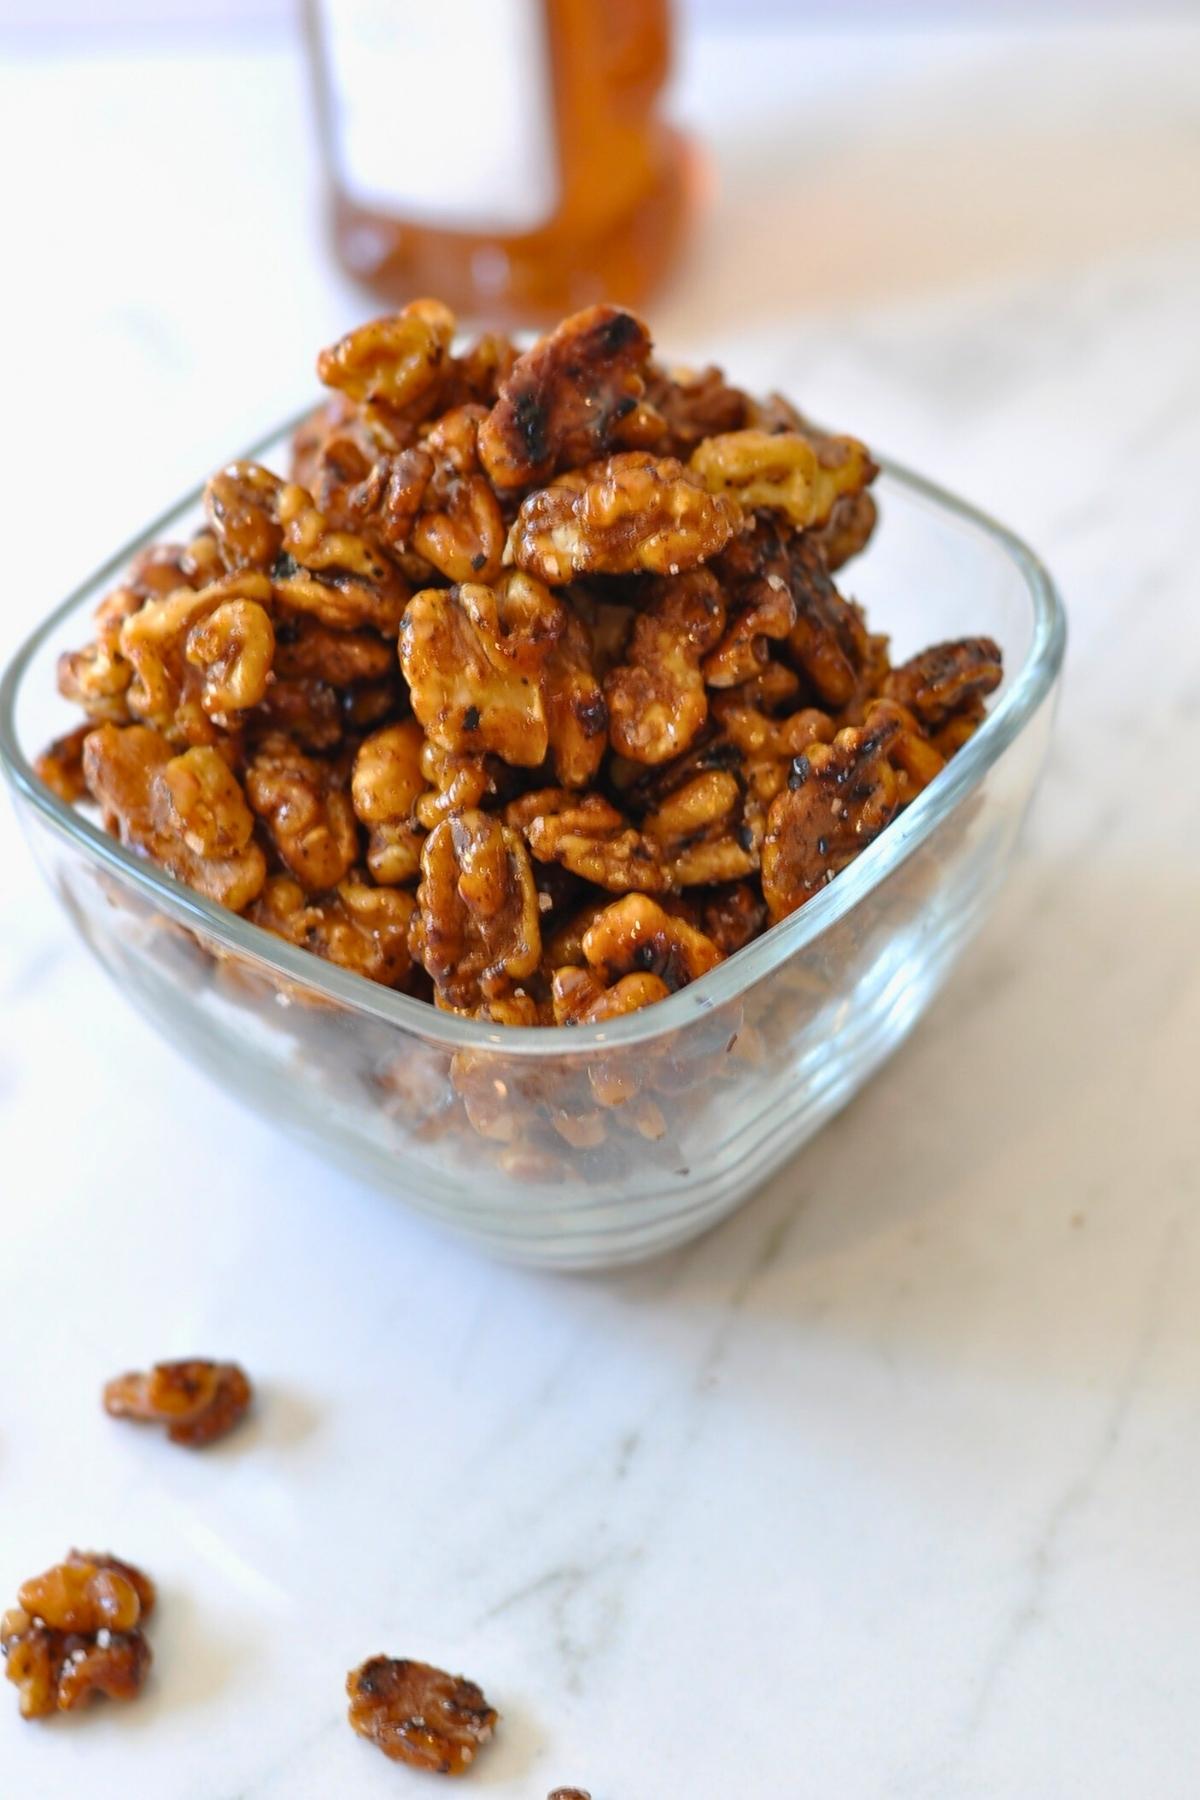
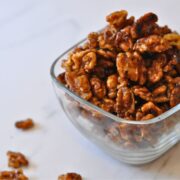
But then it happened — I threw some walnuts in a pan with honey and salt, mostly to avoid throwing them in the compost, and wow. Crunchy, sweet, a little smoky, still warm from the skillet. Suddenly I was eating the kitchen, one sticky handful at a time.

Want to turn these honey glazed walnuts into a full-blown look-at-me-I-eat-greens moment? Toss a handful onto my Arugula and Spinach Salad — it’s peppery, fresh, and just begging for a sweet, crunchy topping like this. The walnuts bring the texture, the honey brings the balance, and suddenly your simple salad feels like something from a cozy little café that knows what it’s doing. Trust me, it’s a match made in leafy heaven.
Jump to:
Ingredients
Let’s talk ingredients — but keep it casual, yeah? You’ve got walnuts, which are like that reliable friend who always shows up a little crunchy but full of good intentions. Then honey, sweet and sticky and just the right amount of clingy — it brings the whole thing together in a shiny, golden kind of way. Salt’s the secret handshake here; it makes everything pop, keeps the sweetness from getting too cozy. And if you’re feeling flirty, a pinch of cinnamon or smoked paprika adds a little mood lighting. That’s it. No weird syrups, no candy thermometers, just pantry stuff with big potential.
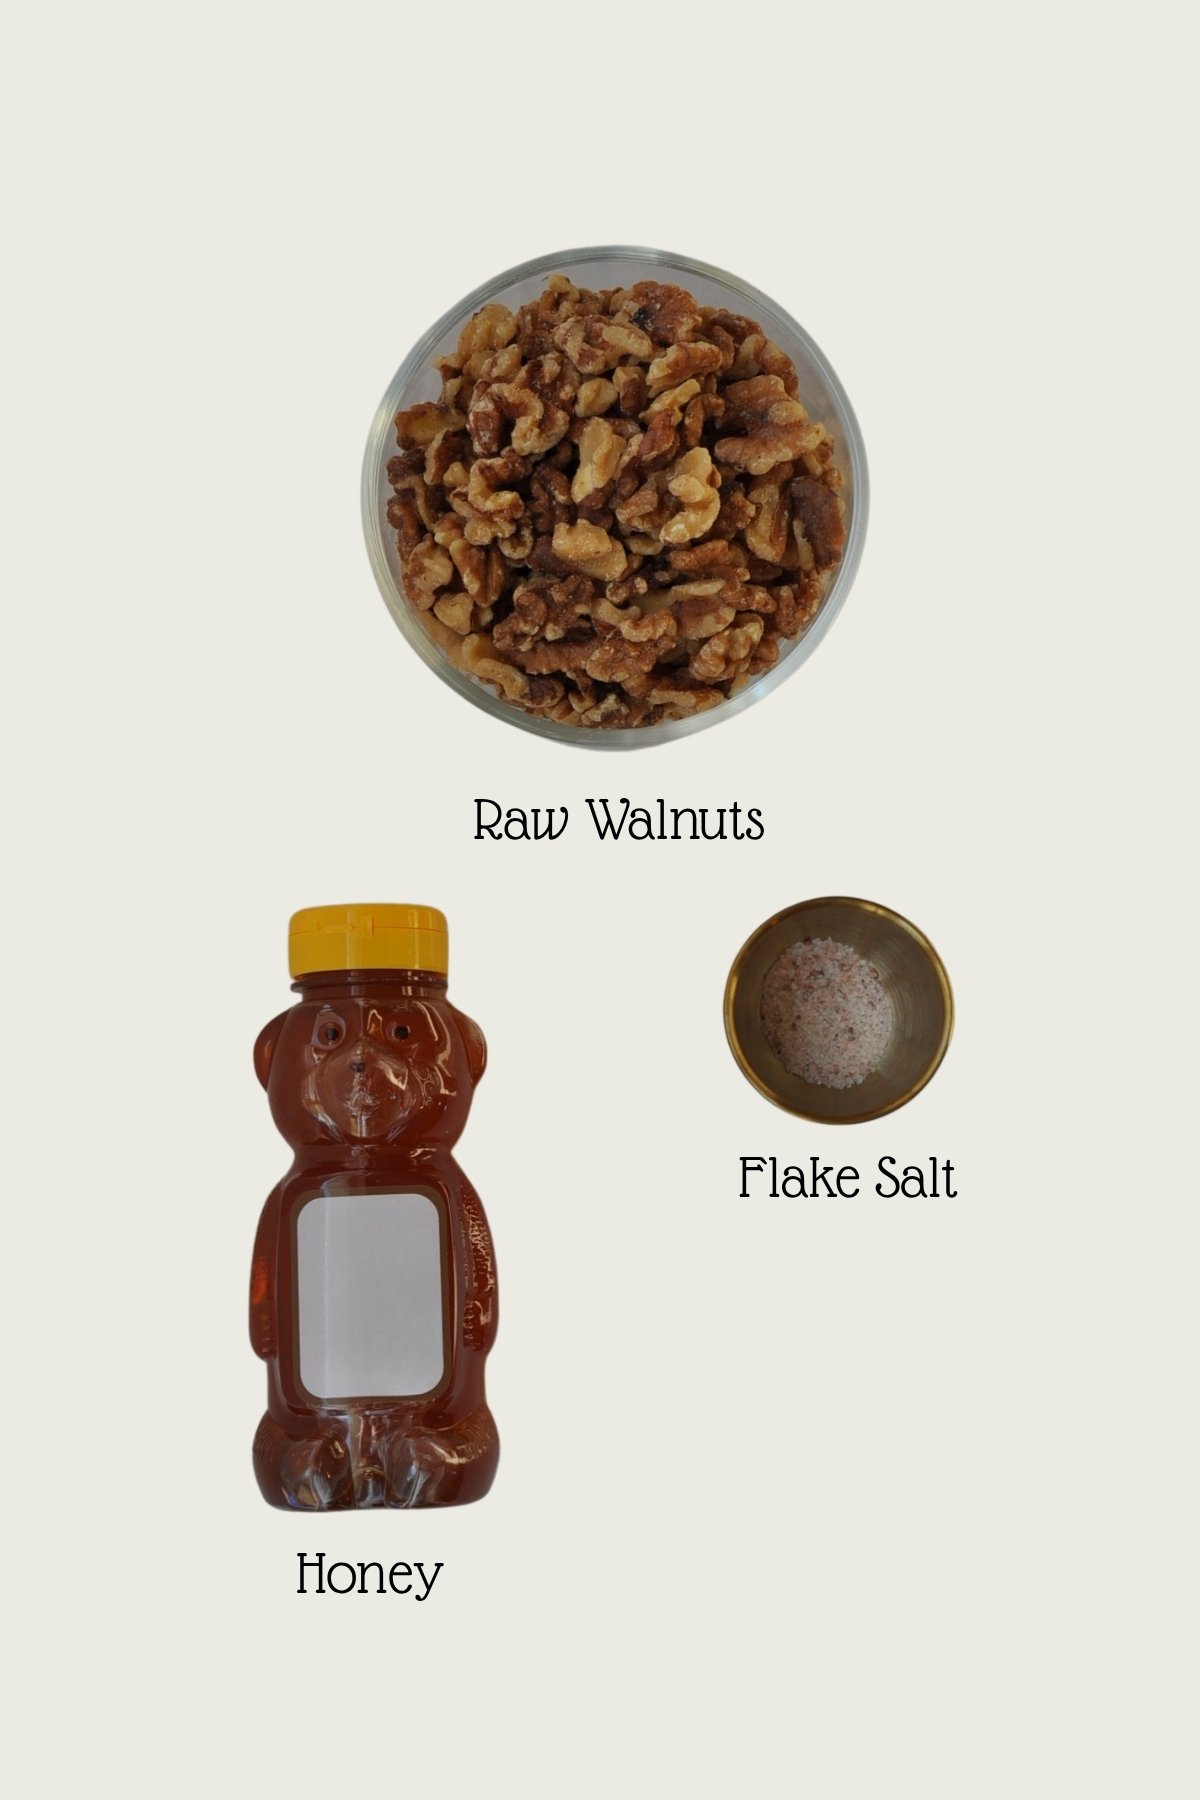
- Walnut halves (or pieces — this is not ballet, no one needs perfect form)
- Honey
- Salt
- Cinnamon or smoked paprika (optional but fun)
See recipe card for quantities.
Instructions
Here come the ridiculously simple steps that’ll leave you feeling weirdly accomplished and maybe even impress a friend or two (on purpose or not). Because at the end of the day, cooking is just another way we connect — with people, with the moment, or just with ourselves over a really good snack.
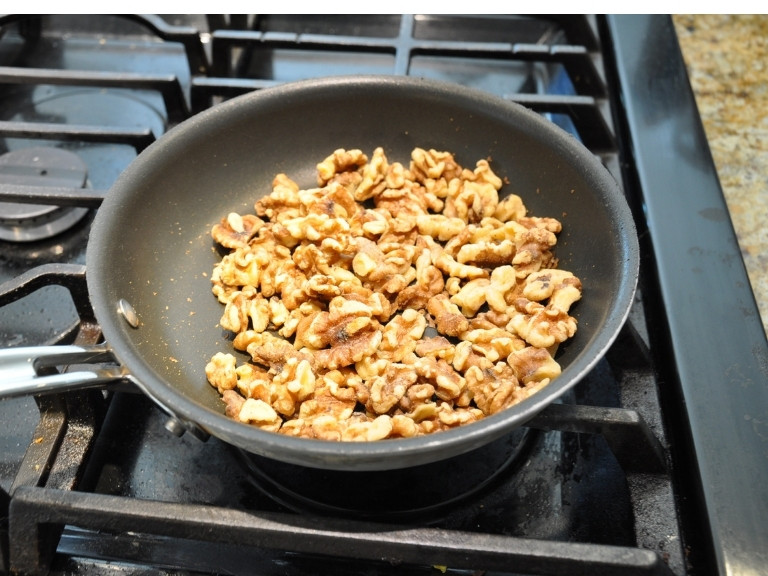
- Toast the walnuts – dry in a skillet over medium low heat. Stir them around like you're checking in on old friends. This takes 5-ish minutes (or less). If they start to smell like toast with a side of forest, you're on the right track.
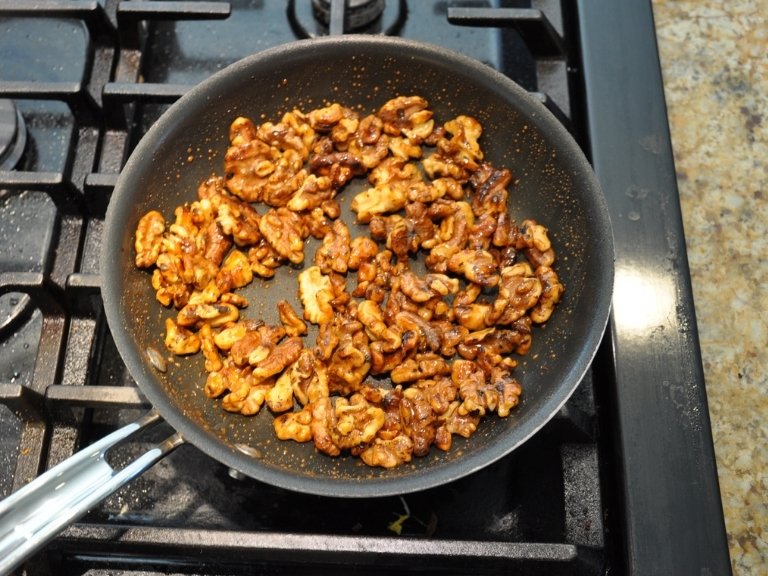
- Add the honey – Pour it right over the nuts. Things will get bubbly and sticky and a little chaotic — like all good relationships. Stir constantly so no one gets burned (literally).
- Add salt and flair – Once it starts to look glossy and a little darker, add your salt and any bonus spice you’re feeling. Keep stirring. Feel free to say “yes, chef” to yourself.
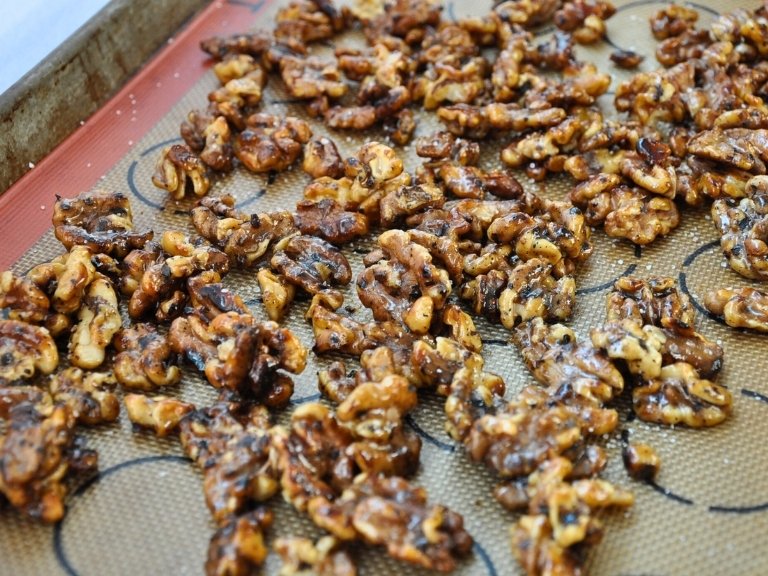
- Cool them down – Spread the nuts out on parchment or a silicone mat so they don’t harden into one solid nut pancake. Unless that’s your vibe. Let them cool for at least 10 minutes before diving in. Burnt tongue = no fun.
Why You Want These in Your Life
Why would you want these in your life? Because they’re the kind of snack that feels a little fancy but takes zero effort. Here are a few reasons why I enjoy these honey glazed walnuts.
- Snackable magic: Great for movie night, road trips, or late-night pacing while pretending not to scroll your phone.
- Salad upgrade: Toss these on greens and feel smugly gourmet.
- Giftable: Fill a jar, tie a string, pretend you're the person who "just whips things up."
- Quick win: This takes like 10 minutes and makes your kitchen smell like something good is happening. Because it is.
These honey glazed walnuts are perfect for the holidays. They’re sweet, salty, and totally snackable, whether you’re hosting or sharing. Add them to a cheese board, sprinkle them on a festive salad, or just set out a bowl and watch them disappear. Easy to make, easy to love — holiday win.
Variations
Once you’ve made these once (and eaten half the pan standing up), you’ll realize they’re basically a blank canvas for your snacky whims. You can dial the flavor up, down, sideways — whatever feels right in the moment. The core idea is simple: nuts + sticky stuff + heat = something pretty great. From there, go wild or stay chill. Here are a few ways to mix things up:
- Spicy Maple Pecans: Swap walnuts for pecans and use maple syrup instead of honey. Add a pinch of cayenne for a slow, sneaky burn.
- Rosemary Sea Salt Walnuts: Add a sprinkle of finely chopped fresh rosemary with the salt — earthy, fragrant, a little fancy without trying too hard.
- Orange Ginger Glaze: Stir in a tiny splash of orange zest and a pinch of ground ginger right at the end. Feels like a holiday, tastes like wow.
Equipment
A baking mat is a must and is also the unsung hero of this recipe. It keeps your sticky walnuts from cementing themselves to the pan and makes cleanup a breeze — no scrubbing, no peeling off parchment. Just spread, cool, and lift. Plus, it’s reusable and easy to rinse. If you don’t have one, this silicone baking mat (affiliate link) is a classic and totally worth it.
Storage
These little beauties don’t need much fuss when it comes to storage — just let them cool completely (seriously, no cheating) and toss them into an airtight container. A jar works great if you want to feel rustic and put-together, but a zip-top bag does the job just fine too. They’ll stay crisp and snackable for about a week at room temp, maybe longer if you hide them from yourself. If they get a little soft (it happens), just pop them in a low oven for a few minutes to bring back the crunch. Not that they’ll last that long.
Top Tip
Clean-up hack: Soak the sticky pan in hot water. Walk away. Forgive yourself for not doing it sooner. Mybe snack on a few or the whole batch
FAQ
You can, but things might get a little weird. Roasted nuts can burn faster in the pan, and salted ones might tip the whole thing into salt bomb territory. If that’s what you’ve got, just dial back the added salt and keep the heat low and your eyes open.
Probably didn’t cook them long enough or let them cool completely before diving in (we get it). The honey needs a minute to thicken and set up as it cools — think “syrup turning into candy,” not “syrup staying syrup.” Patience is a flavor.
Yes, but use a bigger pan or do it in batches. Overcrowding = steaming, not glazing, and nobody asked for honey-steamed nuts. Keep things spread out so the magic can happen.
Connection Corner
This isn’t just about walnuts. (It never is, is it?)
This is about standing at your stove, halfway between dinner and dessert, realizing you just made something for yourself, maybe for someone else too. It's about the stir-stir-stir moment where your brain finally shuts up and your hands take over. It’s about saving the sad nuts and turning them into something golden.
Cooking is how we show up — for others, sure, but also for ourselves. Sometimes that means full-on meals, and sometimes it means glorified trail mix. But either way, it counts I hope these honey glazed walnuts are just what you were looking for.
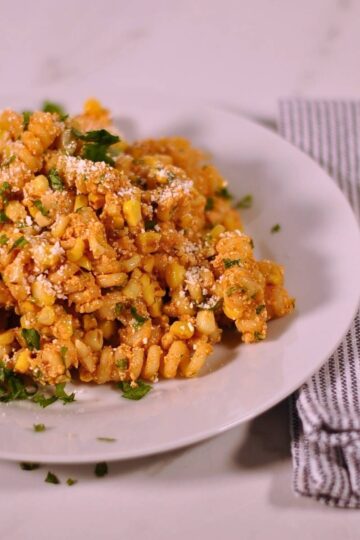
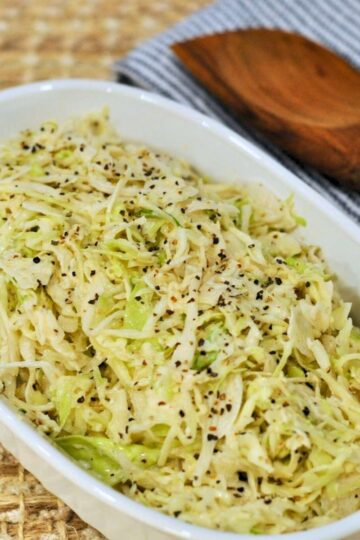
Related
Looking for other recipes like this? Try these:
Print

Honey Glazed Walnuts
- Total Time: 15 minutes
- Yield: 2 cups 1x
Description
These honey glazed walnuts are crunchy, sweet, and just a little salty — the perfect snack or topping for salads, yogurt, or straight-from-the-jar munching. Made in one skillet with just a few pantry staples, they’re quick, unfussy, and way more delicious than they have any right to be. No candy thermometer, no stress — just sticky, golden goodness in under 30 minutes.
Ingredients
2 cups raw walnut halves or pieces
¼ cup honey
¼ teaspoon flaky salt (plus more to taste)
Optional: Pinch of ground cinnamon or smoked paprika (for extra flair)
Instructions
- Get your setup ready - Line a baking sheet or plate with parchment paper or a silicone mat — this is where the walnuts will cool. You’ll want this ready before things get sticky, because once the honey hits the pan, you’re in it.
- Toast the walnuts - Put 2 cups of raw walnut halves or pieces into a large, dry skillet (nonstick is easiest, but use what you’ve got). Set the heat to medium - low and stir the walnuts around every 30 seconds or so. You’re waking them up, not scorching them — toast until they smell nutty and start to darken slightly, about 4–6 minutes. Don’t walk away. They can burn quickly.
- Add the honey - Pour in ¼ cup of honey. Things will bubble and sizzle — that’s good. Stir constantly with a heat-safe spatula or wooden spoon to coat all the nuts. Keep the heat at medium or slightly lower; you want a gentle simmer, not a full-on candy factory situation. Add ¼ teaspoon flaky salt. Stir it all in like you mean it.
- Let it cook - Keep stirring for about 2–3 minutes, until the honey thickens a bit and clings to the walnuts like a shiny glaze. If you’re adding a pinch of spice (cinnamon, smoked paprika, etc.), now’s the time to sprinkle it in.
- Cool it down - Quickly (but safely) spread the glazed walnuts onto your prepped parchment or silicone mat. Use your spoon to separate clumps if you don’t want one mega cluster. Let them cool for at least 10 minutes — more if you can resist. The glaze will firm up as it cools and give you that satisfying crunch.
- Break apart & store - Once completely cool, break up any big clusters and transfer to a jar or airtight container. Store at room temp for up to a week (longer if you're a miracle of self-control).

Notes
Watch the heat: Keep it at medium or lower — honey burns faster than your first pancake.
Nut swap: Pecans, almonds, or cashews all work — just keep the amounts and steps the same.
Too clumpy? Use a fork to separate them while they’re still warm. Or lean into the clusters. No wrong moves here.
- Prep Time: 5 minutes
- Cook Time: 10 minutes
- Category: Snacks
- Method: Stove top
- Cuisine: American


Comments
No Comments